Choosing the right paver base material is an important consideration during paver installation. If the paver base material is installed incorrectly, this could leave to cracking, weed growth, and other problems.
“You can’t build a great building on a weak foundation. You must have a solid foundation if you’re going to have a strong superstructure” – Gordan B. Hinckley.
There are important considerations to take before installing your new paver driveway, walkway, or patio. We’ve all seen paver installations that are uneven, cracking, and covered with weeds and vegetation. In most cases, this happens when the paver base material installation is completed incorrectly. The information below will outline the best practices for establishing a successful paver project.
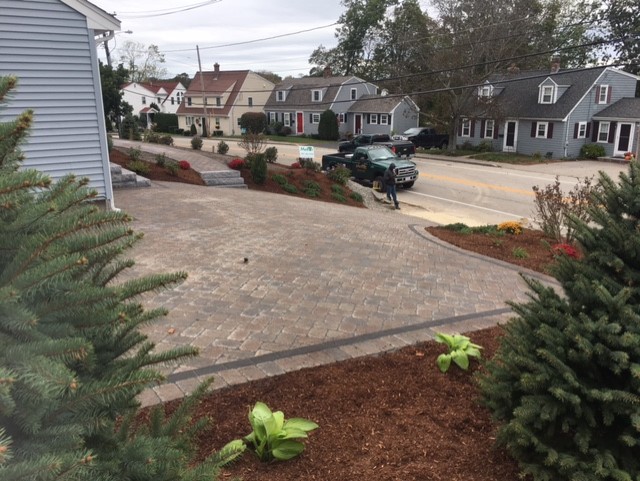
- Establish your paver layout
You will want to make sure you notify DIG SAFE before any excavation, so all underground utilities are marked. Skipping this step could result in severe damage and injury, as well as fines from your local municipalities and utility companies. Once all utilities are marked, you can layout your project. Use spray marking paint to outline the projected work site clearly. You’ll want to extend the markings by 6″ on all sides to ensure enough room for your gravel foundation and paver edge restraints. - Excavation
Excavate the area to 6-12″ below the finished grade, depending on the use of pavers and the soil conditions. If the pavers are for only pedestrian traffic, dig 6″ below the finished grade. If the project is for a driveway, or an area that will hold vehicular traffic, excavate 8-12″. Clay soils should be excavated deeper than sandy/loam areas. The deeper the base is mined the more gravel you can add for increased support and stability. When excavation is complete you will compact the sub-base with a plate compactor or hand tamper. - Geotextile
If you are in an area that is mostly clay or have other poorly draining soils, we recommend placing a layer of geotextile fabric down over the compacted sub-base. Doing so will work as a barrier to stabilize the base and stop the clay from mixing with your added base material. - Gravel Base & Compaction
We suggest using 3/4″ gravel for the base. This can be either 3/4″ crushed stone or a 3/4″ recycled concrete product. Both products allow for adequate compaction and drainage—compact your gravel base with a vibrating plate compactor. The more compressed your base is, the less it will shift and settle over time, keeping your pavers level and in place for longer. Plate compactors can generally compact 3-4″ at a time. For this reason, we recommend packing your gravel base in layers. Your finished gravel base should slope 1/4″ per foot, providing the industry-standard 2 percent pitch.

To help calculate the amount of gravel you should purchase, the Interlocking Concrete Pavement Institute recommends the following guidelines for every 100 square foot area:
· Four inches thick: Two tons of material
· Six inches thick: Three tons of material
· Eight inches thick: Four tons of material
· Twelve inches thick: Six tons of material.
- Bedding Sand
Once your gravel base is adequately graded and compacted, the last step before your paver installation is your bedding sand. For this, you will need to lay 1′ of washed concrete sand. A simple way to do this, maintaining the 1″ depth, is to set up two parallel guides. You can use PVC pipe, conduit, metal rails, or whatever you have on hand that is the correct height for the depth you want (1″). Set your screed, which can be a straight 2×4 board. Make sure the screed is long enough to rest on both guides. Pull the 2×4 screed to level the sand between guides. Repeat this process until you have leveled all areas. Only prepare as much space with the bedding sand as you can lay the pavers on that day. Otherwise, you may have to re-level the entire area due to unexpected rain or people walking in the area. - Lay your Pavers
Now that you have a stable, graded base, you are now ready to begin your paver installation. Set up guidelines to keep your pattern square and level. Use the click and drop method to lay your pavers properly. There are dozens of paver pattern options to select. Follow your desired paver pattern until your new paver project is complete.
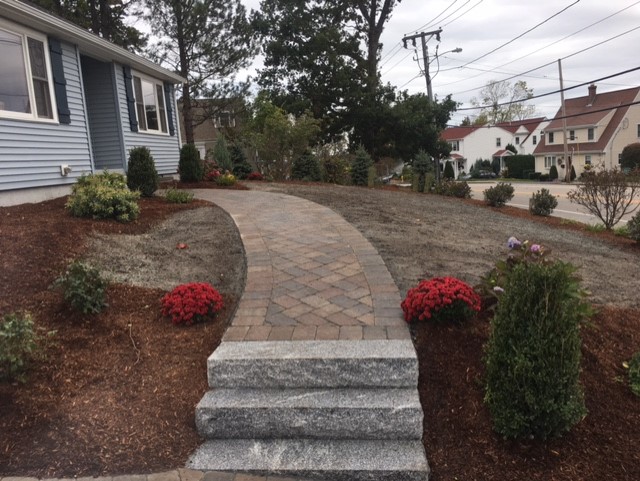
A common mistake I see in the industry is using stone dust as your paver base material. Stonedust is a finely pulverized stone that is screened into a sand consistency. Stone dust, however, does have some beneficial properties.
Many contractors will use stone dust for a paver base material as it is straightforward to grade and make level. Unfortunately, stone dust can pose some real threats to the physical integrity of the pavers. Water retention is one. A ph level that can eat away at the pavers is another. Stone dust is a delicate material that absorbs moisture, then slowly releases it, which can cause paver efflorescence and freeze/thaw cycles.
Top-selling paver lines such as Unilock and Belgard void their manufacturer warranty if the pavers are installed in a stone dust paver base material. In contrast, concrete sand provides excellent performance over time. It won’t eat away at the pavers and allows excellent drainage. The course texture acts to hold the pavers in position, providing a stabilizing buffer that enables the ground underneath to shift without shifting the pavers.
Using the proper paver base material and installation approach is critical for a vital paver installation.
The more time you spend on the paver base material, the easier the rest of the project will go. Please contact JM Mento Landscape Design before your next paver project. Whether you are looking to hire a professional contracting company or are preparing to complete your work, calling JM Mento Landscape Design can get you started in the right direction.




0 Comments